
TEK HIP CAPS
Metal Pro-X Hip Cap Installation Hip Cap Installation
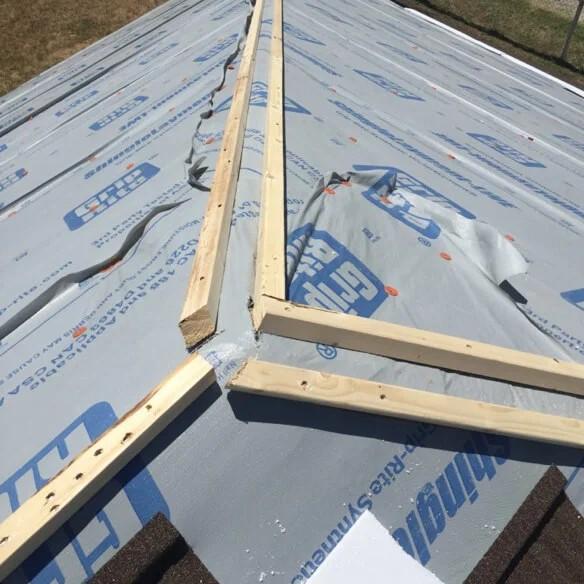
1
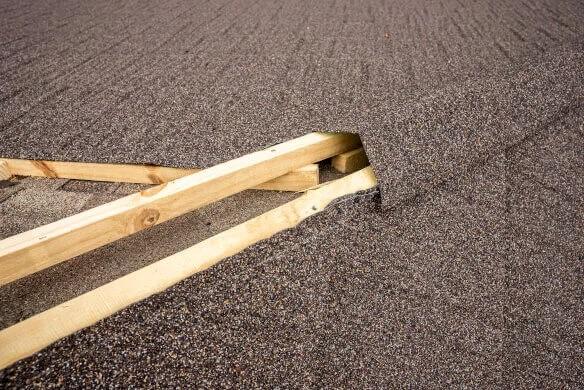
Install 2x2 boards along hip area. Board spacing will vary.
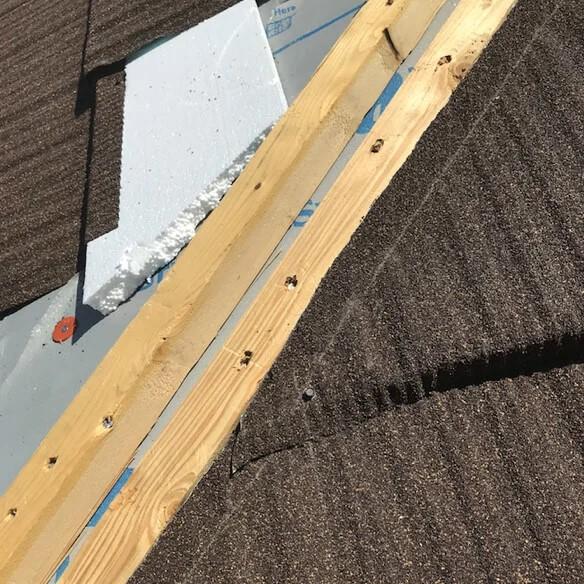
2
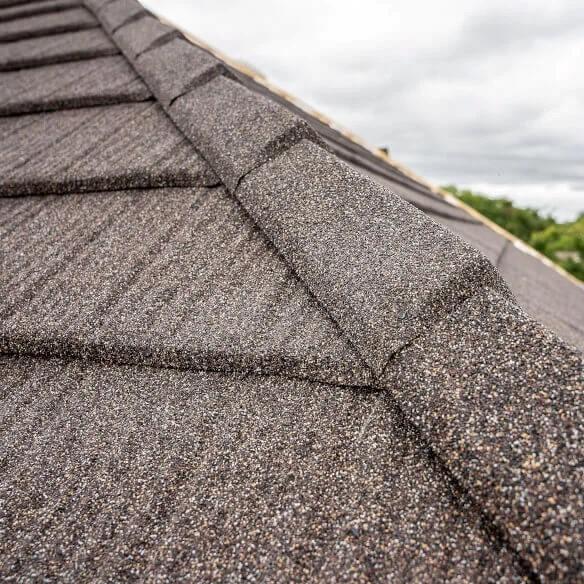
Using pre painted weather resistant screws or ring shank nails, fasten hip cap to the 2×2 boards.
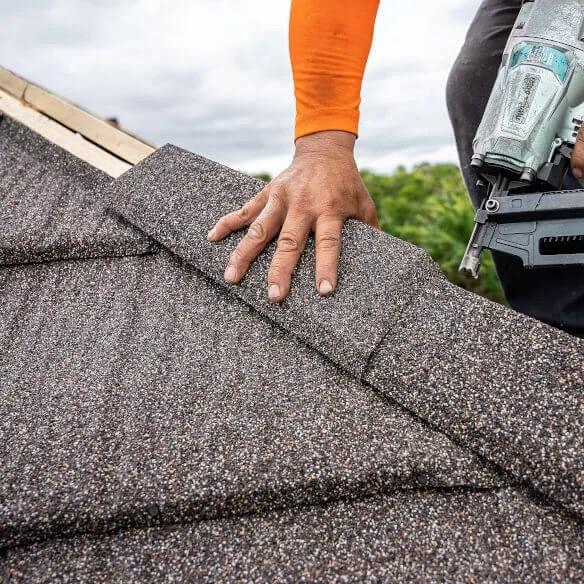
3
Nail or screw placement should be on the bottom left and right side of each hip cap or only at top to conceal based on your preference.
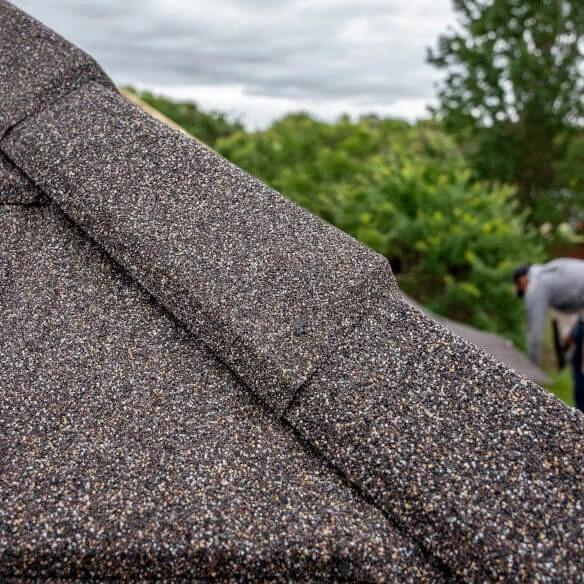
4
As a final check, your hip cap line should appear straight and beautiful.
Hip Flashing Foot brake tool is required
1
Using a Foot brake bend Panel up 2×2 board and even with the top of 2×2 board.
2
Make sure panel is snug against 2×2 board for optimal hip cap placement.